The Main Menu

Role: Administrator
Once you have added some pages to your WDS site, you can begin to build the main navigation menu.
In the WordPress dashboard, select Appearance > Menus. Create a new menu named “Main Nav Menu,” and add top-level and next-level pages to it.
Move and nest pages in the menu structure interface until they match your desired site hierarchy.
Finally, save your menu and confirm that it is appearing and functioning properly on your website.
The Universal (Utility) Nav Menu

Role: Administrator
The universal nav is displayed on the top right of every site in the WDS and must include the four required items, Request Info, Visit, Apply, and Give. The Give link may be customized by colleges, departments, and units in consultation with Advancement.
To edit the universal nav, navigate to Appearance > Customize. Select Utility Menu Settings. By default, each of the four items link to the following:
- Request Info— https://www.utk.edu/requestinfo
- Visit— https://www.utk.edu/visit
- Apply— https://www.utk.edu/apply
- Give— https://www.utk.edu/give
To customize these links, paste in the new URLs and then hit Publish.
Footer Information and Menus
Role: Administrator
To edit the contact information and social media links in the Footer, navigate to Appearance > Customize, and select “Contact Info Settings.”
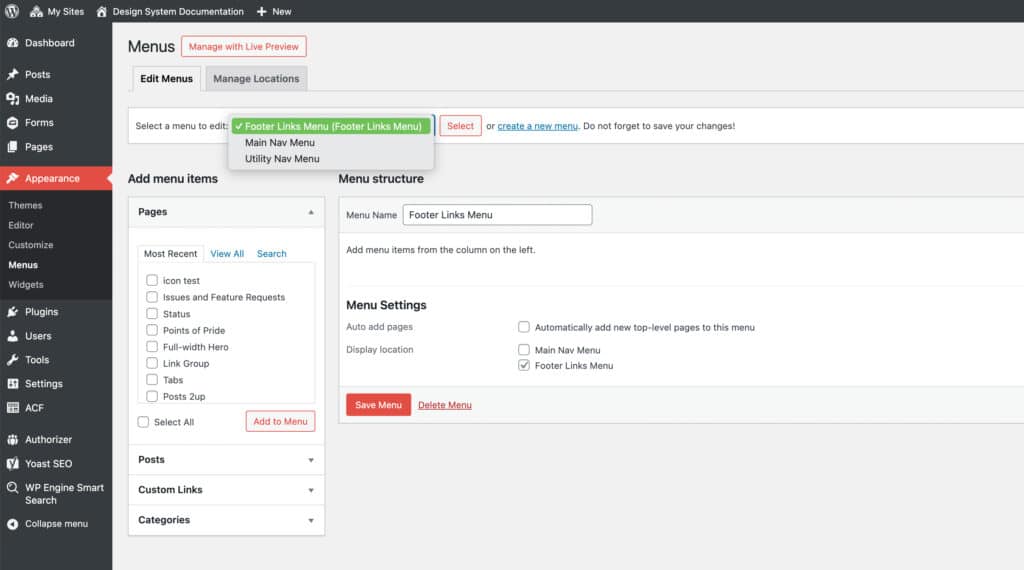
To add an optional second column of links in the Footer, navigate to Appearance > Menus, and create a new menu called “Footer Links Menu.” Add pages, posts, or other links to the menu and then select “Save Menu.”
In-Page Menu
Role: Administrator, Editor
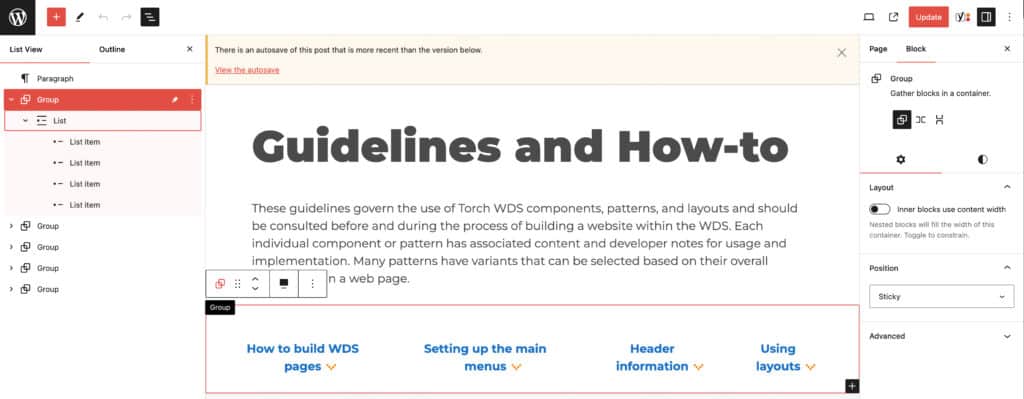
The in-page menu is a custom pattern that was developed as a way to link to content that is located further down a long page. Some folks refer to these as “jump” links or anchor links.
Learn more about this menu type on its component page.
For “Deeper” Websites
Websites with pages at level three and beyond will benefit from the Sidebar Navigation pattern, which should be the first pattern used on these pages to help site visitors access and navigate your content. Another pattern that provides wayfinding for site visitors is the Breadcrumbs pattern, which is turned on by default for all Torch theme sites.
Sidebar Navigation
Role: Administrator, Editor
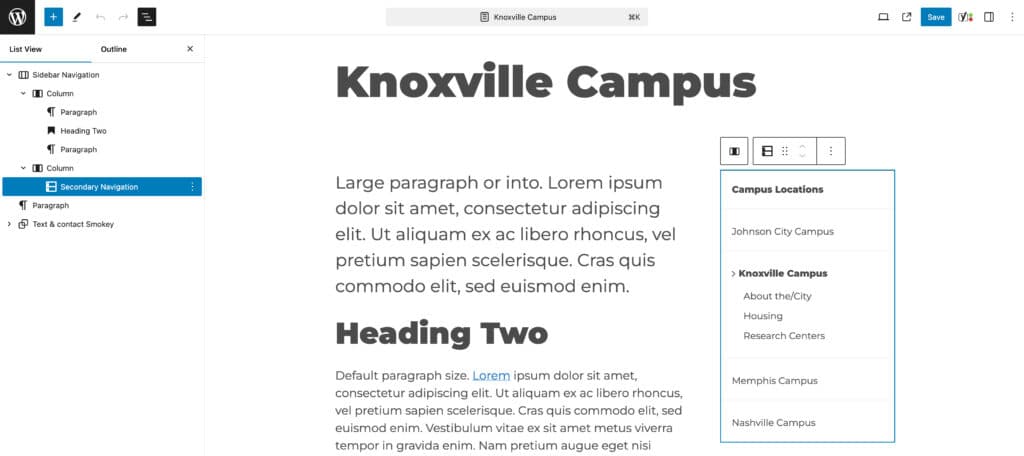
For pages at level three and below in your site structure, use the Sidebar Navigation pattern as the first block at the top.
How it Works
This will place a dynamic sidebar menu on the right sidebar of the page. For deeper websites, this pattern ensures that users can access pages that aren’t included in the site’s primary menu. This menu populates based on the structure you assign to each page in the “Parent” field—either inside the Page settings menu when creating or editing the page, or from the Quick Edit in the All Pages view of the dashboard.
Breadcrumbs
Role: Administrator, Editor
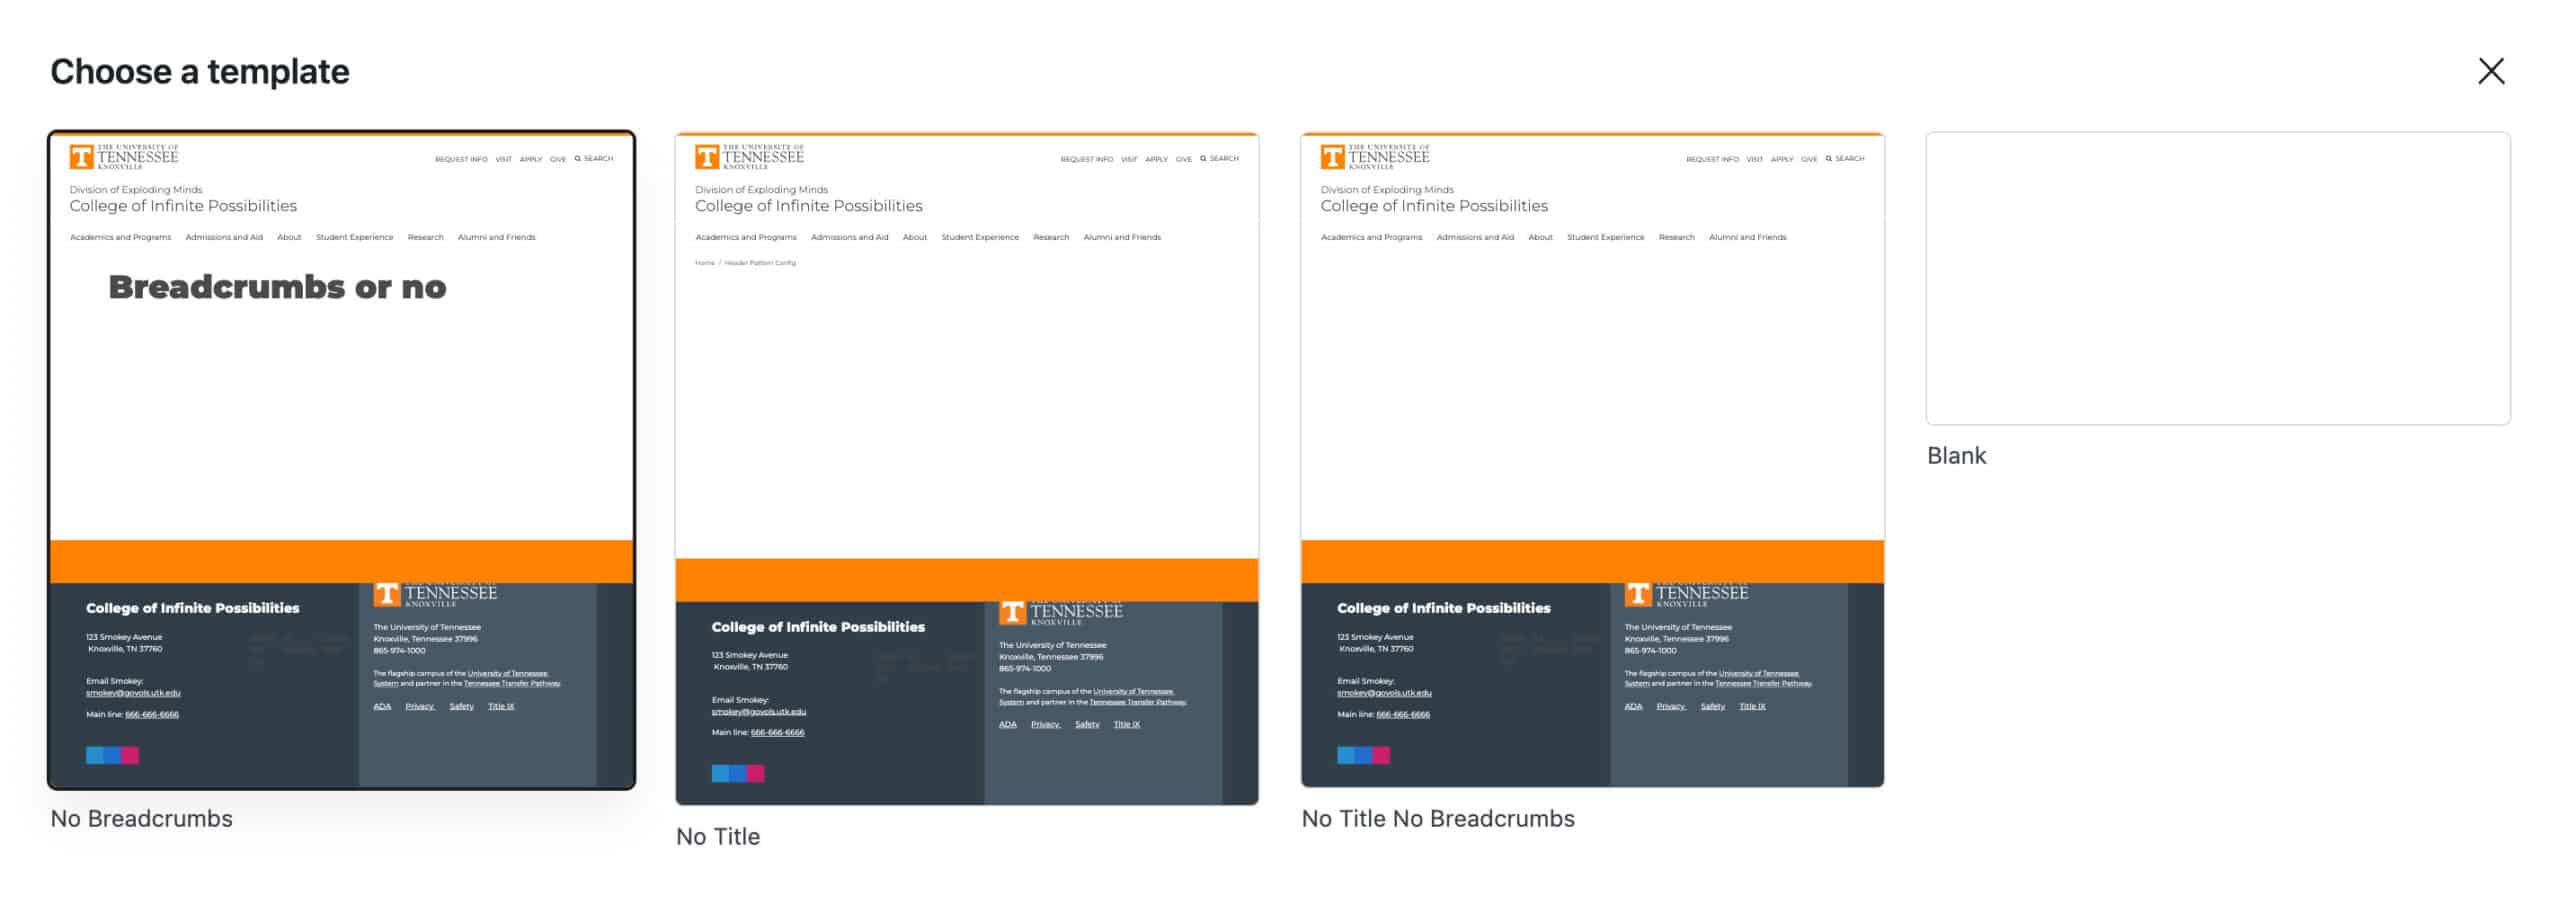
Breadcrumbs are turned on by default in the WDS. Breadcrumbs are a navigational tool that your visitors can use to trace their path back through the page hierarchy of your website, similar to Hansel and Gretel dropping crumbs of bread along the forest path to find their way back home. Breadcrumbs are especially helpful secondary navigational tools on larger websites with deep, vertical page hierarchies. Breadcrumbs supplement but should not replace your primary navigation.
If your website has a “flat” hierarchy or is very small, or if you are creating a one-off landing page for a paid campaign or other advertisement, you may choose to turn breadcrumbs off on a page-by-page basis. To turn off breadcrumbs on a page, open the settings window on the right side of the page editor, select “Page” settings, and then select the Pages template. Select “Swap Template” from the options, and then choose one of the available templates with no breadcrumbs—either “No Breadcrumbs” or “No Title No Breadcrumbs,” depending on your needs.